How to install the PaynoPain plugin in your WooCommerce store
Having an optimal payment gateway is key for your WooCommerce store to run smoothly and securely. It helps your customers complete their purchases quickly and increases sales opportunities.
With PaynoPain, you can integrate our payment gateway directly via API or, much more easily, by using our WooCommerce plugin. This platform is one of the most popular in the world, with around 23% market share according to Statista, making it a reliable option for your online store.
Our plugin is designed to be installed in just a few steps, allowing you to accept card payments, Bizum, PayPal, and other alternative methods without complications.

In this guide, we will show you step by step how to install and configure the PaynoPain plugin for WooCommerce, so your store is ready to accept online payments.
Initial requirements for installing the WooCommerce plugin
For the plugin to work correctly, you must complete these mandatory steps:
1. Register your business
Your business must be registered on the PaynoPain payment gateway. This step is essential to receive payments and generate plugin access credentials.
2. Receive access credentials
Once registered, you will receive your credentials to access the PaynoPain control panel. These credentials are required to log in to the plugin and connect your store to the payment gateway.
WooCommerce plugin configuration
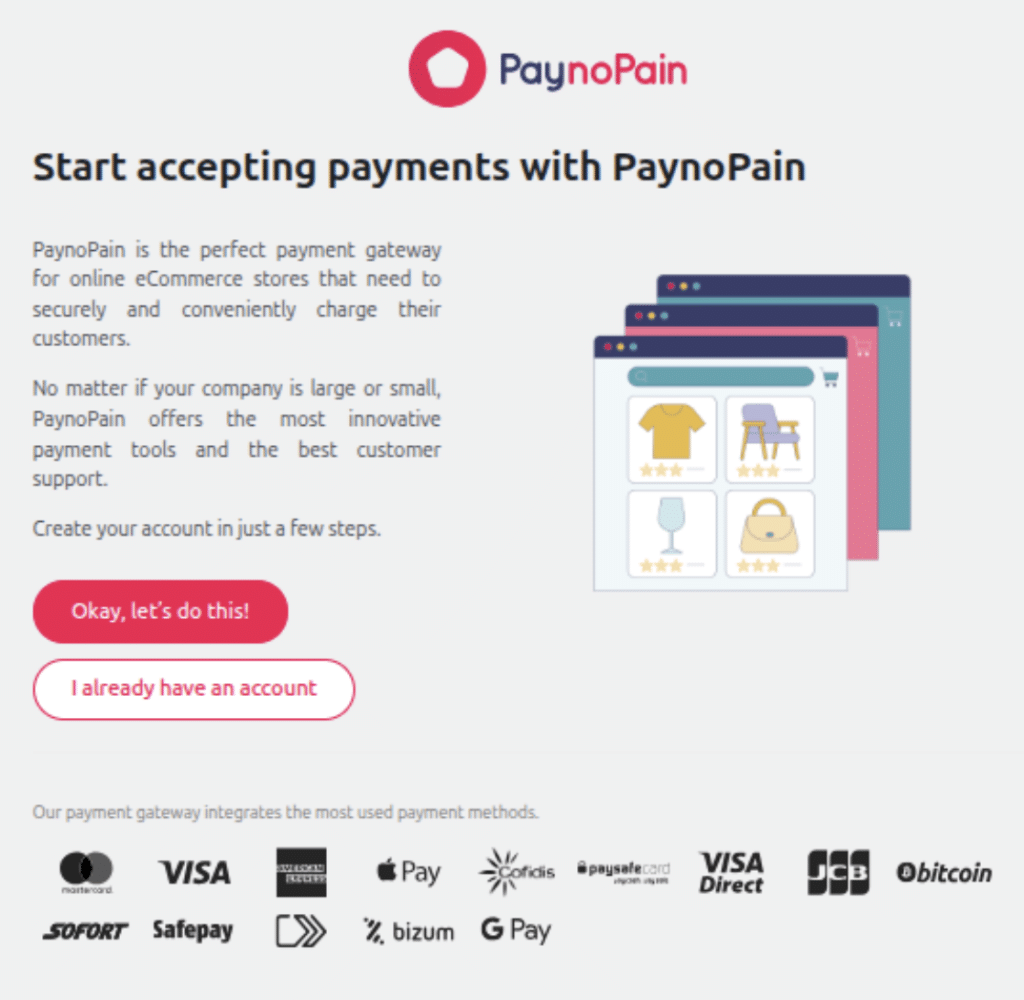
After installing the plugin, you will see a new section called “PaynoPain” in the WordPress side menu. When you access it, you will reach the plugin’s welcome page, where you can log in with your credentials.
Steps to install the plugin in your ecommerce
1. Click “I already have an account” and enter your credentials to access the plugin’s main page.
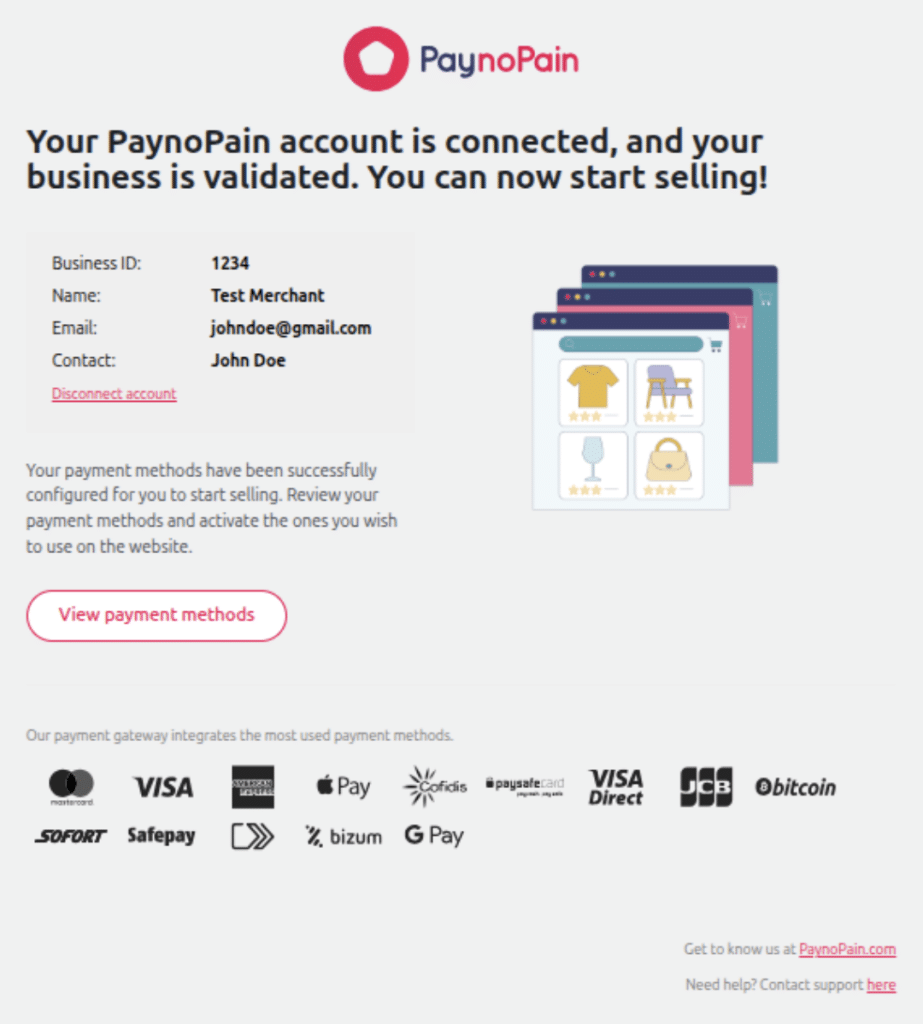
2. Click “View payment methods” to see the active environment.
3. Next, the following screen will appear with Sandbox enabled by default. In other words, a testing environment that allows you to simulate payments without processing real transactions.

4. Switch between Sandbox or Production using the corresponding toggle (“Test Mode”) depending on the environment you need. Use Sandbox mode to run simulations and verify that everything works correctly. Once everything is ready, switch to Production to start accepting real payments in your store.
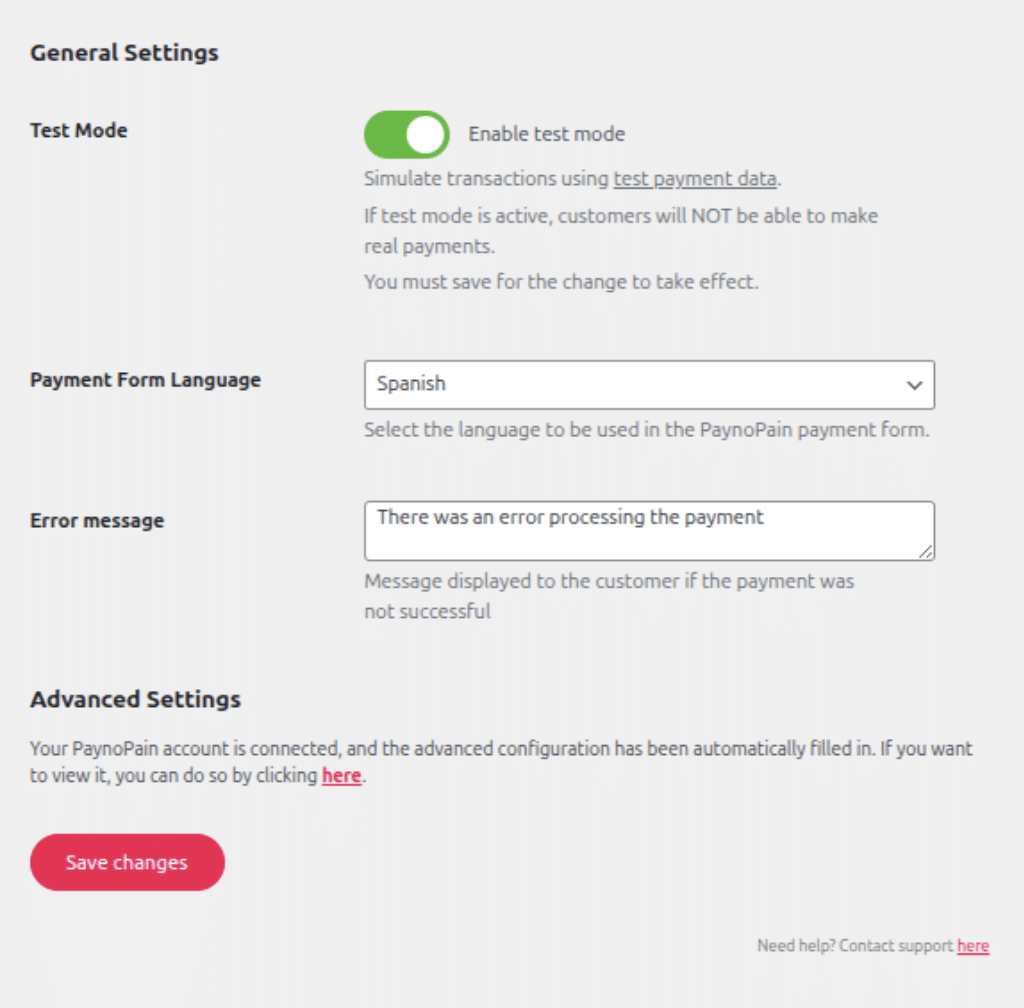
5. If you use the payment page instead of the PaynoPain checkout, you can select the default language. This option redirects the customer to an external page to complete the payment.
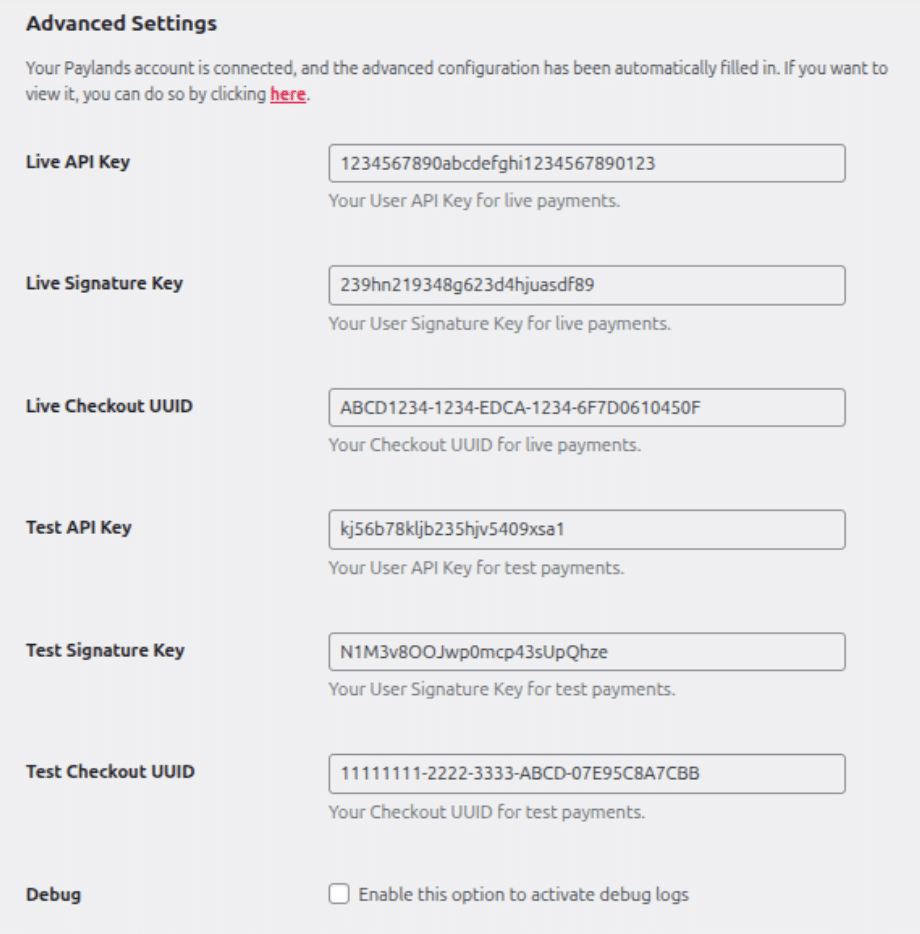
6. When logging in, the plugin automatically downloads your business configuration. It is not necessary to manually enter your credentials, although you can always check them in the “here” link (above the “Save changes” button), which will open a dropdown panel showing your credentials.
Payment methods available in the plugin
The PaynoPain plugin offers two modes to process payments in your WooCommerce store:
Checkout payment
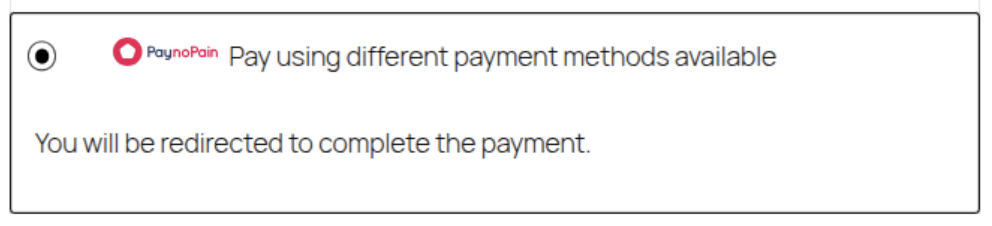
This is the standard mode. The user is redirected to the PaynoPain hosted checkout, where they will see all the payment methods configured by your business and can choose the most convenient one.
- To adjust the title and description shown to the user at checkout, click the “Configure” button.
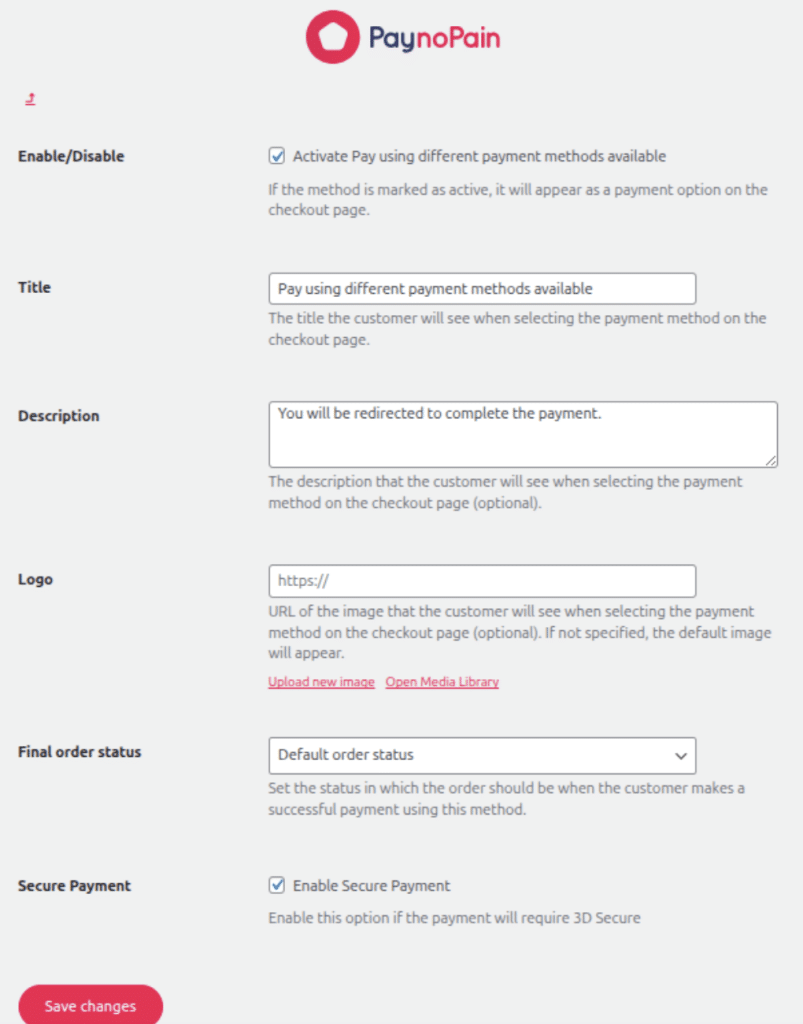
- With the top settings, filling in the “Title” and “Description” fields will display them to the user.
- Make sure to enable the “Secure payment” option, a requirement from Visa and Mastercard, as they require user-present transactions to be processed through 3DS to pass bank authentication.
- The checkout has a default configuration that can be modified from the PaynoPain control panel. However, from the plugin settings you can also modify some aspects by accessing the WordPress side menu under “PaynoPain > Styles”.
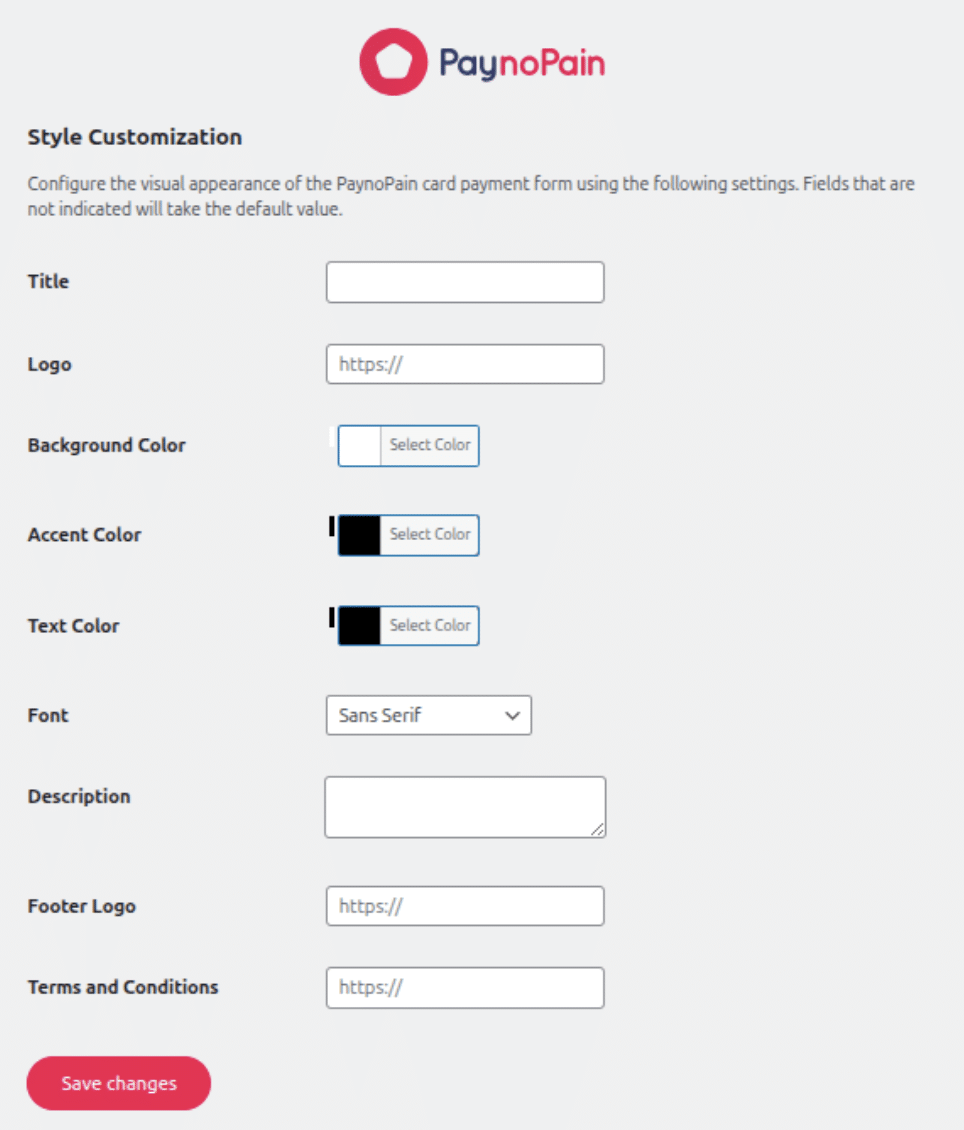
This configuration will override the one defined in the PaynoPain panel.
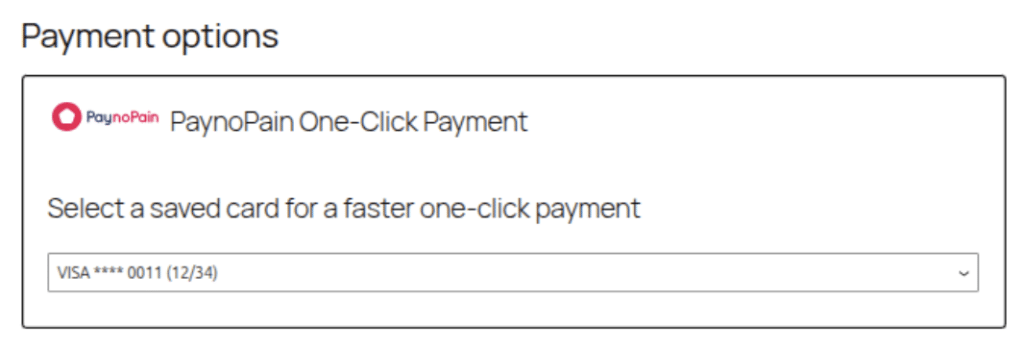
One-Click payment
This method allows returning users to use previously tokenized cards, speeding up the process and avoiding re-entering card details.
- To configure this payment type, click “Configure” in the plugin’s main menu.

- This will display the following screen:
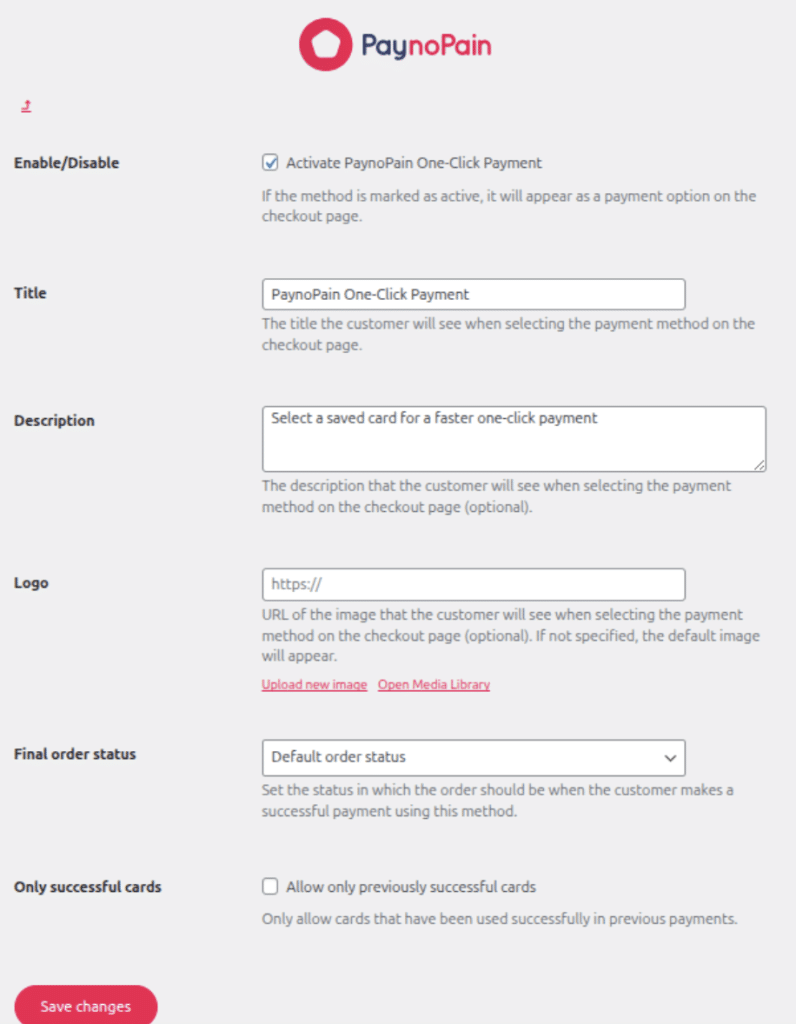
- The text you enter in the “Title” and “Description” fields will be displayed to the user during payment.
Testing the plugin in Sandbox mode
All tests must be performed in “Sandbox Mode”, using the test cards provided by PaynoPain, which you can find here. This allows you to verify proper integration without processing real payments.
Start accepting payments with PaynoPain payment gateway
Install our plugin for the virtual POS in your online store
The integration of PaynoPain with WooCommerce allows you to accept card payments and a wide variety of payment methods quickly and securely. Thanks to our plugin, your ecommerce will be ready to accept online payments with a virtual POS that matches your business needs.
If you have any questions, contact us and our team will guide you step by step through the plugin installation process so your store is up and running as soon as possible.


At PaynoPain, we collaborate with companies that share our vision of innovation, quality, and technological excellence. If you offer complementary solutions or want to distribute our products, together we can go further. We offer you support, training, and real opportunities for joint growth, with global impact.