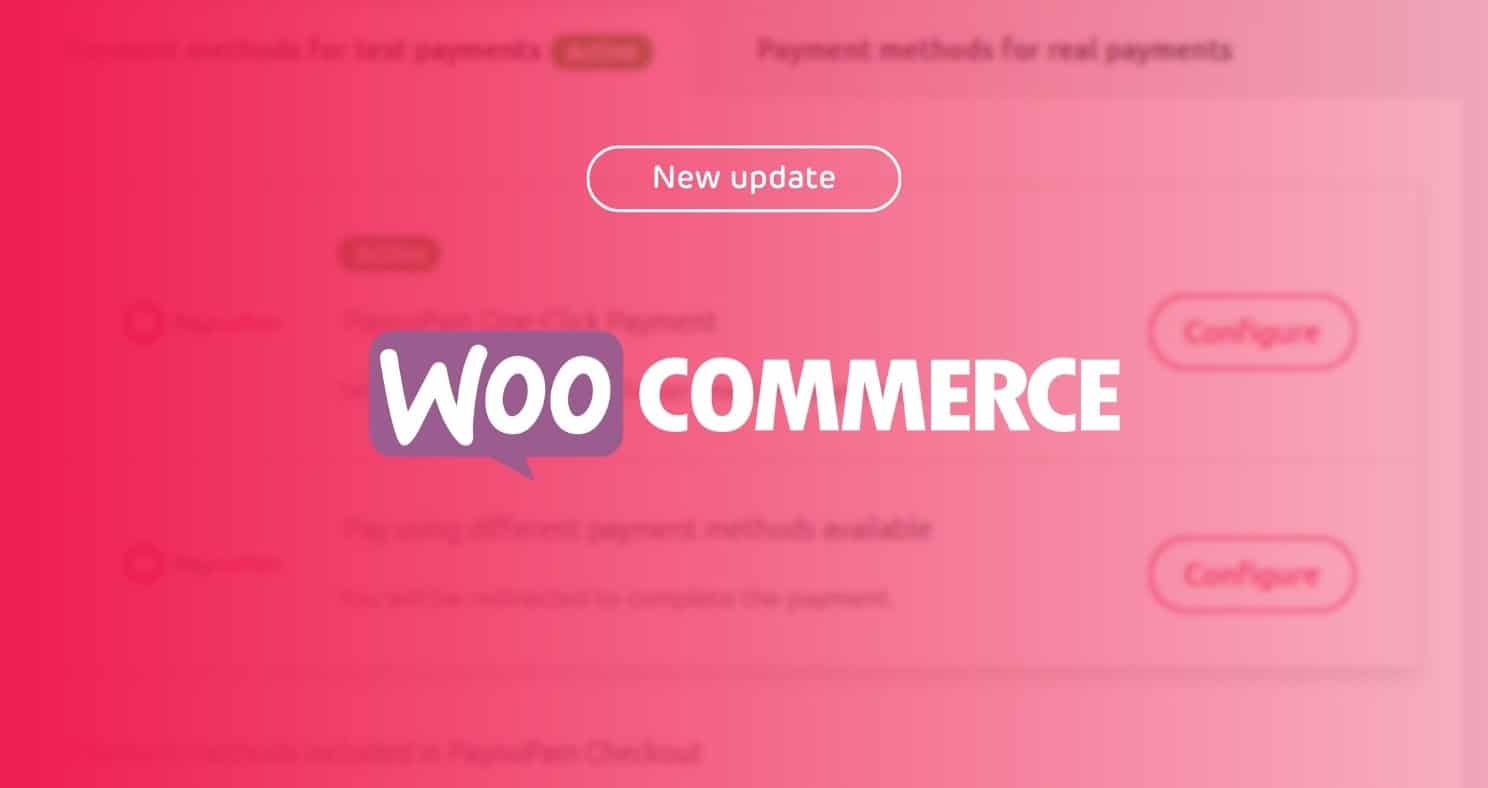
Woocommerce: Paylands payment gateway plugin installation tutorial
Paylands payment gateway can be integrated both in web pages designed by programmers and in sites created with CMS such as WordPress (Woocommerce). This is one of the most popular content management systems when creating online stores or ecommerce, both in Spain and globally, for that reason in Paylands we have created a plugin for easy installation, to start using our payment gateway in your Woocommerce store is really simple and fast.
In this post you will find the main steps to start using Paylands in your ecommerce and be able to start charging your online customers with credit and debit cards.
> DESCARGAR Plugin de Paylands para Woocommerce
Installing the Paylands payment gateway plugin for Woocommerce: before you start
This WordPress plugin for WooCommerce implements the Paylands payment processor in order to provide virtual interaction with the bank making it possible to pay in the e-shop using credit and debit cards.
0. It is necessary to have a Paylands account in order to access the plugin configuration credentials in Prestashop and enable payment with Paylands payment gateway. If this is not the case, please contact us to know the contract conditions and receive a personalized quote.
1. Access the web address https://paylands.paynopain.com and log in with the credentials previously obtained. The login form will look like this:

2. Once logged in, it is time to get the Paylands keys that we will use to configure the payment gateway in the Woocommerce store.
We must click on the button indicated in the following image:

And so we will find the data of the keys that we will use to configure the plugin in Woocommerce:

The service ID can be obtained from Manage > Paid Services > Listing, for this plugin the REDSYS service type is required.

- Compatibility: this plugin was developed and tested with WordPress version greater than or equal to 5.x and WooCommerce version greater than or equal to 3.9.x. WooCommerce is required.
- It is recommended to make use of an SSL certificate as a minimum security requirement as this is sensitive data that needs to be sent encrypted.
Installing the Paylands payment gateway plugin for WooCommerce: steps to follow
Remember that to install the Paylands plugin for WooCommerce it is necessary to have previously downloaded the plugin from https://backend.paylands.com/login.
1. Go to the Plugins section in your WordPress installation and click on Add new, as shown in this image:

2. Next a screen will appear with options of Plugins that we can install in our WordPress, however in this case we must upload the plugin previously downloaded from the Paylands website. To do this in this Plugins screen we will click on Upload Plugin:

3. When we click on Upload Plugin we will see a window where we can upload our plugin in .zip format (as it is downloaded).
Once we upload our plugin, it will be ready to be configured.
4. To configure the plugin we will go to the WooCommerce > Settings > Payments section.

5. Once we are in this screen, we can see that the Paylands WooCommerce Gateway option appears in the payment method options. To activate it we will change the status to Activated.
6. Next we will click on Manage to be able to configure our plugin. Different options will appear that we will have to complete with the necessary information so that the plugin can work. We will fill in each required field with our credentials, which were generated in our Paylands account (how to obtain them is explained at the beginning of the tutorial).

Installing the Paylands payment gateway plugin for WooCommerce: Sandbox mode testing
All testing will be conducted using Sandbox Mode.
The test cards provided by Paylands are as follows:
Successful payment test:
- Card: 4548 8120 4940 0004
- Expiration Month: 12
- Expiration year: 24
- CVV: 285 (can be any three digits)
Proof of failed payment:
- Card: 4111 1111 1111 1111 1111 1111
- Expiration Month: 12
- Expiration year: 24
- CVV: 285 (can be any three digits)
Y si todavía no has contactado con nuestro equipo comercial para recibir todos los detalles sobre las ventajas de Paylands y un presupuesto personalizado, no dudes en contactar ahora mismo, sin compromiso:
Error: Contact form not found.


At PaynoPain, we collaborate with companies that share our vision of innovation, quality, and technological excellence. If you offer complementary solutions or want to distribute our products, together we can go further. We offer you support, training, and real opportunities for joint growth, with global impact.